
How to Remove Tile From Concrete Floor: DIY
How to Remove Tile From Concrete Floor: DIY
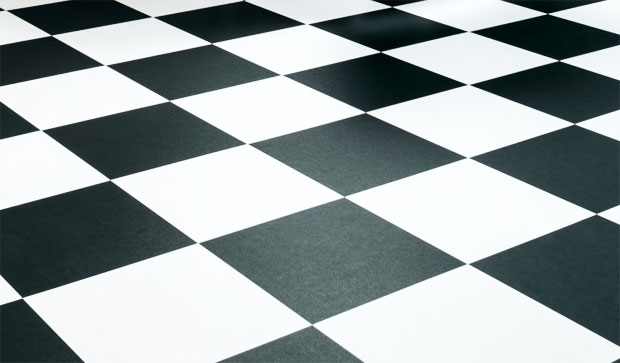
The trend of tiles is always changing, no matter which kind. Except for a few classics like subway tiles, there aren’t many which do not withstand the test of time. So, it is commonly seen that people change their household tiles and its design quite frequently. Moreover, if you are short on budget and looking to remove your existing flooring all by yourself, we are here to help you remove tile from concrete floor.
Even though people are usually serious about following the instructions of anything that is Do It Yourself (DIY) when it comes to removing tiles, they tend to have a laid-back attitude. It’s because of the fact that they think the tiles are going to be destroyed anyway, so there is no point in being careful. If you are one of them, get ready to settle for a not so perfect tile setup.
It is essential to follow instructions and use proper instruments to properly remove the tiles. It will ensure that you can scrape what you can from the remainders, and secondly, it will create a level ground which will make room for the new tiles.
Before we begin to instruct you on how to remove your floor tile, we need to ensure you have the proper tools for this job.
Instruments You Will Be Needing
- Dust Mask
- Hammer
- Jackhammer
- Knee Pads
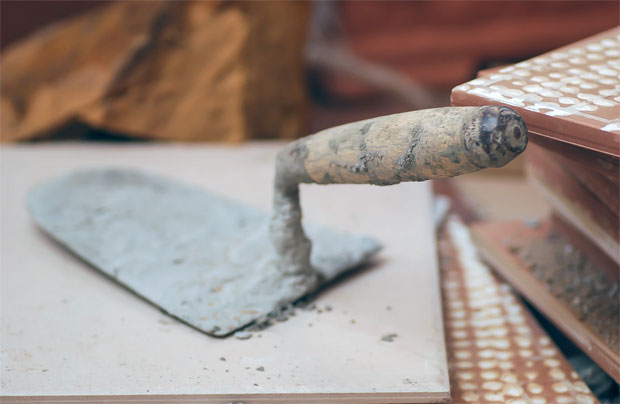
- Trowel
- Cold Chisel
- Electric Tile Stripper
- Hand Maul
- Shop Vacuum
- Safety Goggles
When you are ready with the given tools, you have to follow the three-step procedure that I have specifically created to make the whole painstaking process easier. It will guide you step by step so that you will not have to seek any professional help in this regard, so sit tight.
One thing that I need to clear from the very beginning is that there is no easy way out of this. You have to put a lot of effort because removing tiles is not an easy task.
Concrete floor is unlike those on cement board or wood since no underlayment or subfloor can be pried up and thrown away as you would undress. Removing tile from concrete will require you to use your strength to the fullest because you have to knock the tiles out instead of them coming out without any real force.

Step 1 – Chiseling up Tiles
First things first, you need to work the chisel that connects the tiles and concrete. To do that, you will need that hammer we talked about. To be specific, you should use 2 LB maul.
So, where do you start hammering up the tiles? To make things easier, find the corner of the room where the grout has slackened. You can hammer on that place to quickly shake things off. Try to start knocking off the area underneath the tile, in order to effectively begin removing.
If you can’t find loose ends, you will have no choice but to strike at the center of the tile. And then destructively break it down to get the tile totally out.
You must ensure proper precautions while working. Make sure that you are wearing safety goggles, DIY trousers, gloves, and a long sleeve shirt. The constant hammering will send the sharp ends of the broken tiles flying around, and it might damage your skin or, worse, your eyes.
Usually, if you have an old and rusty floor, it will be easier for you to hammer the tiles out. But, if you are changing your tiles faster than you thought, then it might be a hard job to make the tile come off. And if you are unable to pull any tile off, you should rent a small jackhammer consisting of a chisel point. With that, you can expect your tile to come off.
Step 2 – Flattening the Old Concrete
When you are done breaking (your tiles) bad, get your hands on some thin-set mortar. Then you have to spread the thin-set mortar over the concrete, and then flatten the concrete for smoother installation of your tiles. If you need new concrete there you’ll be able to order different types of concrete online to suit your needs.
Flattening is essential since, without it, your tiles might not look on level ground. It creates a level field for the new tiles to set or be installed correctly.
Step 3 – Raking the Adhesive
The last and final step of the process is raking the adhesive off of the concrete floor. It will be hard to be perfect in this particular step since there is no way to scrape all the adhesive off.
After that, you have to use the trowel to apply a layer of latex thin-set mortar approximately 1/8th of an inch thick. It will make sure that the voids are filled, making room for the new tiles to set in. And there you go, with the third and most natural step you will now be able to altogether remove tile from concrete floor.
There is an alternative to this process that deserves mention. You can skip the whole process and just directly connect the new tile over your older tile. But, there are some disadvantages to this, the first one being that you have to trim your doors. In one way or another, you will once need to go through the mentioned process, so it’s better to get used to it!
Guest Article. Contains sponsored links.
Related Posts


About The Author
A Mum Reviews
This blog is edited by a mid-30s mum with over 15 years of professional childcare experience. Now 10 years into motherhood and enthusiastic about finding great products and helpful solutions for busy families to make life more fun and easier too.