
Save Your Furniture (and Money!) with Furniture Restoration
Save Your Furniture (and Money!) with Furniture Restoration
We live in a throwaway society where many of us discard items before the end of their lives, to simply buy something new to replace it with without looking into how it would be possible to mend or restore the item, saving it from going to landfill and saving yourself money too.
We are moving to our new house soon and instead of buying cheap furniture that will need replacing sooner, we are hoping to mainly invest in solid wood furniture. Sure, when you buy these new, they cost a lot more money, but the quality is so different and hopefully investment pieces such as solid wood dining tables, dining chairs, cupboards and beds will last us a very long time — if not a lifetime and more if looked after properly.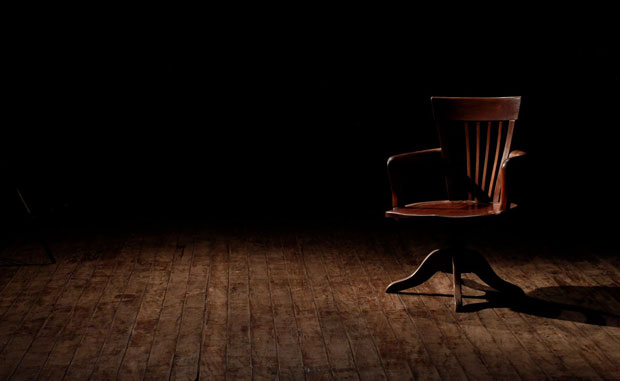
The great thing about solid wood furniture is that you can make them last and you can save items and restyle them to suit your needs by restoring or upcycling them. Wooden furniture that has been neglected usually shows this with a build-up of dirt and a dull appearance as the colour might have faded and lustre disappeared. Some types of wood easily gets watermarks from glasses or get heat damaged from hot cups or dishes.
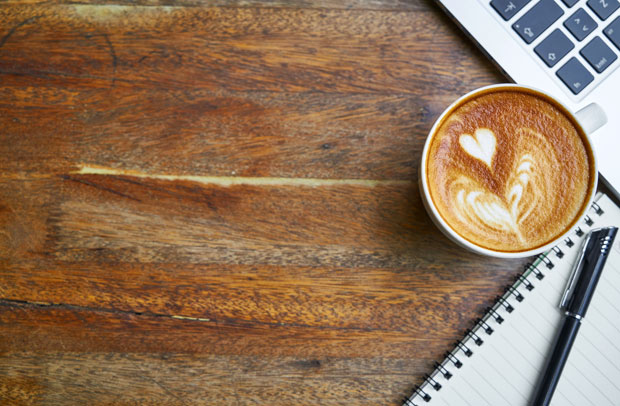
If you’re into DIY projects, restoring wooden furniture can be a great activity for you — just ensure you use the correct products for the restoration.
Things you will most likely need include: protective gloves, protective dust mask, paintbrushes, chemical stripper plus stripping tool, steel wool, wax and polish remover, fine sandpaper plus sanding block, wood dye of your choice, finishing oil, wax polish and lint-free cloths.
Furniture restoring is a messy job so best done outdoors if possible but if not make sure you protect the floor and any furniture in the room and open up plenty of windows to ensure good ventilation.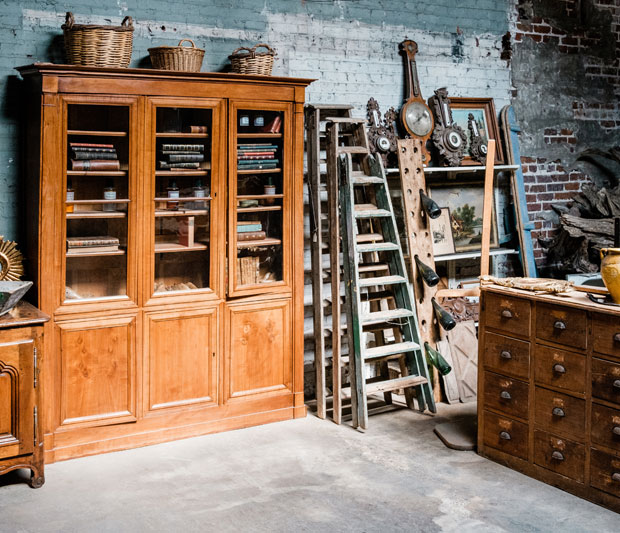
You start by stripping your furniture by applying the stripper product liberally with a brush, then allow the layers of finish dissolve properly. The time will vary depending on how thick the coatings of varnish and polish are. Continue until all layers have been removed. After that, you need to neutralise the chemical stripper according to the recommendations for the product you used.
Then it’s time to clean away any residues and leave to dry for at least 24 hours before sanding to smooth over the wood fibres that have raised during the stripping process. Always work with the grain and make sure to get rid of all dust from the item and surrounding area before continuing.
After the prep work, it’s time to work on the colour, sheen and finish before finally waxing and polishing for the best result. If you’re working on an item made from darker fine grain woods such as Walnut, Mahogany and Rosewood, French polishing is a good option as it protects the wood while also creating a rich colour and beautiful sheen that enhances the natural grain of the wood.
Make sure you’re working in good light so that you can see everything well and stay away from heat sources like radiators, fires and even direct sunlight.
There are loads of guides online about furniture restoration if you wish to give it a go yourself. For people who are not so great at DIY — that’s me! — there are also French Polishers such as Major Oak Polishing that can do the work for you, ensuring the best care for your wooden furniture.
Collaborative Post. Contains a sponsored link.
Related Posts


About The Author
A Mum Reviews
This blog is edited by a mid-30s mum with over 15 years of professional childcare experience. Now 10 years into motherhood and enthusiastic about finding great products and helpful solutions for busy families to make life more fun and easier too.