
How to Create a Garden Path
How to Create a Garden Path
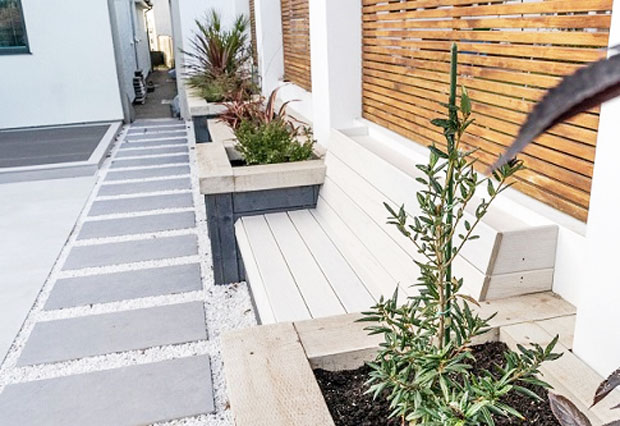
If you’re thinking about ways that you can make your garden more accessible, dynamic and eye-catching all at the same time, we have the perfect answer; a garden path!
Garden paths are a very smart choice for any outdoor space that needs a little freshening up when it comes to style and practicality. Not only do they look good when designed and executed properly but garden paths also allow you to navigate and get around your garden with minimal fuss.
But how do you go about creating a garden path in the first place? Well, if you’re considering adding one to your garden and would like to know the steps involved, you’ve come to the right place!

The essentials you’ll need
Before you can make a start on laying your garden path, you’ll first need to make sure you have your path planned out and that you have the following tools and materials.
The tools that you’ll need are:
- Trowel
- Spade
- Rubber mallet
- Spirit level
- String line and pegs
The materials that you’ll need are:
- Your paving slabs
- Sand
- Cement
- Sub-base aggregate

Creating your garden path
Once you have the materials and tools in-hand, you will be ready to begin laying and creating your garden path. Here is a step-by-step guide on how to do it.
1. Prepare the area
The first step in creating your garden path is to prepare the area where you want it to be. Do this by marking out the desired route with pegs and string, hammering the pegs into place using your rubber mallet. Once this is done you should be able to have a better idea of how your path will look in your garden once finished.
2. Start digging
Next, you’ll have to dig out the path. Do this by using your spade, digging into the ground for a depth of around 180mm. This is where you will add your sub-base aggregate, cement and patio tiles. Ensure that your soil is nice and evenly compacted before adding these materials in.
3. Layering up
The third step is to layer up. Here, you will need to pour the sub-base into the path that you dug up, compacting it to a depth of around 100mm. Once done, you’ll need to start folding up your concrete mix, which should contain once part cement and three parts sand. A concrete mixer is optional here but is also recommended. Mix the sand and cement until you achieve a nice doughy consistency. Aim to have enough concrete to form an even layer of around 40mm on top of the sub-base aggregate.
4. Paving down
Once you’re finished layering up, you are now ready to start adding your pavers. Lay these one at a time, being careful to lay them in your preferred positions, pressing them 15mm into your concrete mix and using your spirit level to ensure that slabs are installed level. Once down, give each one a gentle tap with your rubber mallet, remembering to leave a gap of 10mm between each one. Leave each of your slabs to set for 24 hours.
5. Finishing touches
The final step is the finishing touches. After you’ve left your pavers set for 24 hours, use a trowel to fill in any gaps between your slabs, this will ensure your slabs do not move once you start walking on them and no unwanted mess can get in between them.

And there you have it, our step-by-step guide on how to create the perfect garden path! We hope this blog has helped you in your mission to upgrade your garden and get the path you’ve wanted.
Guest Article.
Related Posts


About The Author
A Mum Reviews
This blog is edited by a mid-30s mum with over 15 years of professional childcare experience. Now 10 years into motherhood and enthusiastic about finding great products and helpful solutions for busy families to make life more fun and easier too.