
DIY: How to Use and Remove Epoxy Adhesives

DIY: How to Use and Remove Epoxy Adhesives
In this article, we’ll look at some top tips for working with epoxy adhesives. A must-have in every mum’s DIY kit, modern epoxy adhesives make small construction products so simple and you don’t have to worry about hammers, drills, nails and lots of messy clean-up. Epoxy syringes are a combination of epoxy and a hardener which are mixed just before application, providing a very strong bond that will last for years to come. Epoxies can be used on wood to fill gaps and complete repairs, on plastic or metal – both indoors and outside.
How to use epoxy glues
The two main components of an epoxy are a resin and a hardener. They are usually sold as an instant mix syringe. One Minute Epoxy bonds in just a minute making it ideal for projects that need an immediate repair, but regular epoxy syringes harden in about five minutes. Depending on the size of the project your working time can vary from a few minutes to a few hours.
This gives you a rough idea of the time frame you have – after this period the glue sets and creates a very durable bond. If you’re not sure of which tasks to focus on in and around your home you can find some great ideas here. If you follow the basic rules you should be able to easily master using epoxy adhesives.
How to use epoxy adhesives
- Start by sandpapering the surfaces to create traction.
- Next get the application syringe ready (follow the instructions on the product).
- Mix the adhesive by retracting the plunger.
- Mix the epoxy resin and hardener very quickly.
- Apply a minimal amount to the surfaces you want to bond and press them together.
- Clean up any excess product with a clean cloth.
Here are some more detailed instructions for using epoxies. They really are very quick and easy to use!
Forget welding and soldering!
You can replace welding and soldering metals with epoxy adhesives instead. Metal repair epoxies set in just five minutes and can be sanded afterwards or drilled if needed.
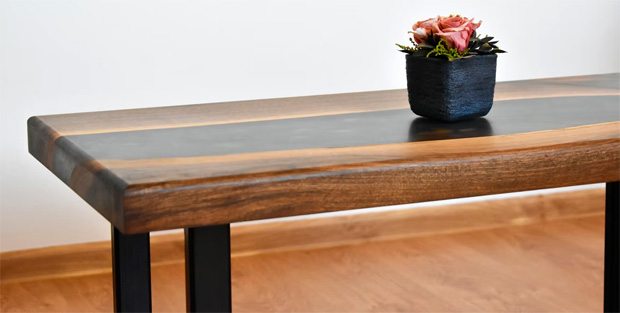
Can I use epoxy on wood?
Epoxy can be used to bond wood easily within five minutes and is completely water resistant. You can use it on a wide range of wood types – both indoor and outdoors. You can opt for 1-minute repair epoxy if you’re in a hurry. This epoxy will give you a very short working time of about 30 seconds so you’ll need to work very quickly to bond your surfaces.
Epoxy bonds plastic too!
Fill in cracks and bond plastic surfaces like chairs and other items in five minutes using epoxy glue made for plastics. You can use it on acrylic, fibreglass and polystyrene.
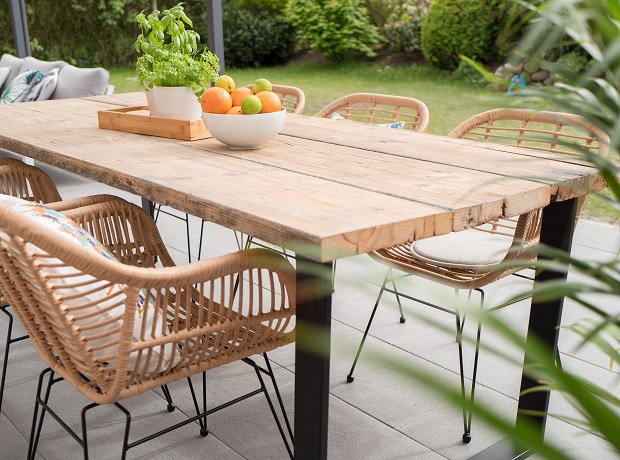
To get you inspired for some outdoors DIY here are some DIY garden renovation ideas. Maybe you can spot tasks where epoxy glue can come in handy?
Removing epoxy glue from surfaces
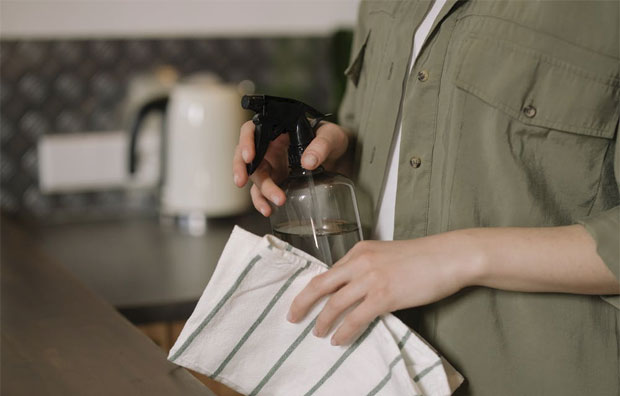
One of epoxy’s best features is the ability to form a long-lasting durable bond, however, if you want to remove the epoxy you can still do this if you act quickly – using methylated spirits and white vinegar on a clean cloth. Make sure to do this before it has time to dry and harden.
What if it’s already dry?
While it is harder to remove dried epoxy it may still be possible. You can try some acetone (works best on wood or concrete), sanding or scraping the area (for small areas), using a heat gun to soften small areas of epoxy or try some paint thinners.
Epoxy adhesives are an essential and very useful addition to your toolbox. You can use these glues to quickly make repairs, do small construction projects inside and outside the home. From garden projects to DIY in the kitchen or garage, epoxies are a great contact adhesive that bonds in about 5 minutes for small projects. When you need a quick fix you can opt for 1-minute repair epoxies to make light work of all those important home maintenance tasks.
Guest Article.
Related Posts


About The Author
A Mum Reviews
This blog is edited by a mid-30s mum with over 15 years of professional childcare experience. Now 10 years into motherhood and enthusiastic about finding great products and helpful solutions for busy families to make life more fun and easier too.