
How to Install a Macerator in your Home
How to Install a Macerator in your Home
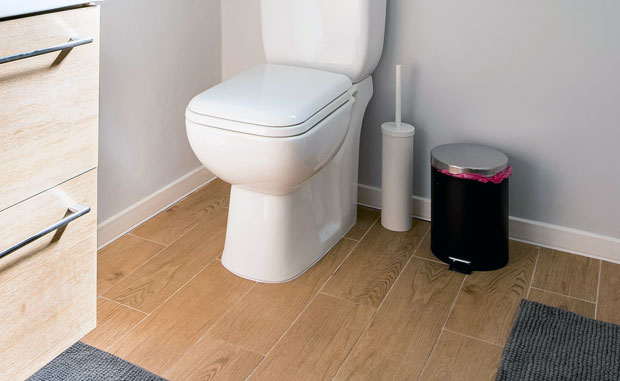
Macerators, also known as upflush toilets, make it possible to easily add bathrooms in any part of your home without extensive remodelling work. However, they require careful installation to avoid issues like clogged pumps.
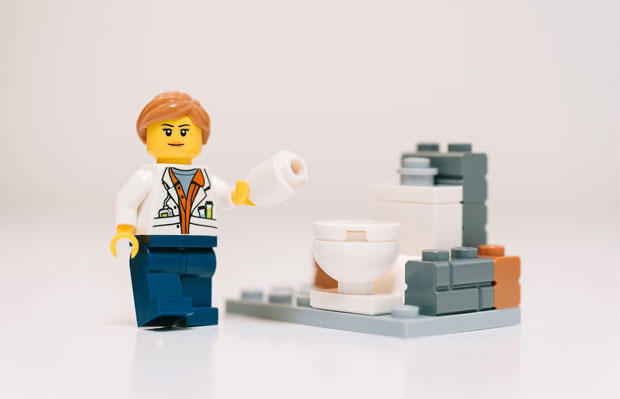
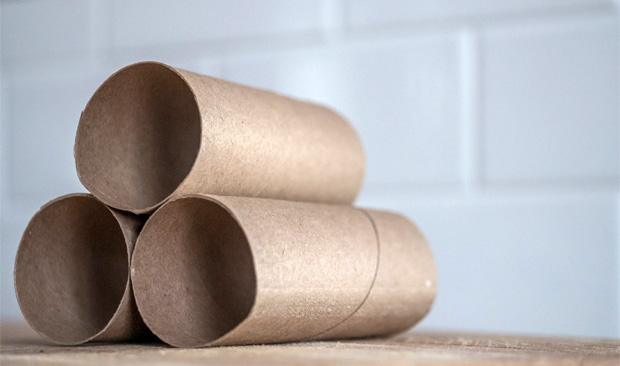
When you install a macerator in your home, only use toilet paper designed specifically for macerator systems to prevent blockages and damage to pumps and pipes. Doing otherwise could damage both.
What are macerators for?
Macerators are an ideal solution if you’re undertaking a basement conversion, building an additional bathroom, or want to add one on the ground floor of your home – as they don’t require custom plumbing and are much cheaper than tearing out floors!
Macerators feature an internal mechanism with a cutting blade designed to liquefy waste and toilet paper into liquid form before pumping it up through your main drainage system. This allows you to add toilets anywhere within reach of your sewage system – the maximum distance will depend on which brand of macerator you purchase.
When adding a toilet to your basement, investing in a durable sump pump is another important piece of equipment. While its primary function is removing groundwater or basement flooding from its surroundings, it could also provide secondary benefits for macerator systems.
Complex drainage designs where gravity alone cannot guarantee proper wastewater flow from the macerator to the main drain may benefit from having a sump pump as a booster pump to assist waste removal, potentially preventing blockages, overflows or damages to macerators or toilet systems. This way, blockages, overflows or damages to these systems could be avoided altogether.
How to install a macerator
Now that you’ve chosen the perfect location and understand the essentials, it’s time to connect the macerator’s pipes. This process can vary slightly depending on your specific model and existing plumbing, but here’s a general guideline:
Gathering your tools
To complete this job, you will need the following:
- Pipe wrench or adjustable wrench: For tightening fittings and connections.
- Teflon tape: For creating watertight seals.
- Cutting tool: Pipe cutter or hacksaw for adjusting pipe lengths.
- Level: Ensure proper drain slope.
- Safety glasses and gloves: Always prioritize safety!
Steps
- Position the macerator: Follow the manufacturer’s instructions to secure the macerator in its designated location. Ensure it’s stable and accessible for future maintenance.
- Prepare the inlet pipe: Cut an appropriate length of incoming waste pipe (toilet waste), deburr its edges, apply Teflon tape to threads of the macerator’s inlet fitting and connect and tighten securely using a wrench.
- Prepare the discharge pipe: This pipe carries the macerated waste to your main drainage system. Consult the manual for the maximum allowed length and elevation gain. Cut the pipe accordingly and deburr the edges. Apply Teflon tape to the threads of the macerator’s discharge fitting. Connect the pipe and tighten it firmly.
- Maintain proper slope: Remember, gravity plays a crucial role! The discharge pipe should have a constant downward slope (usually 1/4 inch per foot) towards the drain to ensure proper flow and prevent blockages. Use pipe supports or brackets to maintain the hill throughout the run.
- Connect to the drainage system: Locate the appropriate connection point in your main drain. Some models require an additional adapter for compatible connections. Follow the manufacturer’s instructions for proper installation and secure all connections with the wrench.
Before you get excited, thoroughly inspect all connections for leaks. Tighten any loose fittings and ensure all pipes are secure. Now, perform a test flush and observe the macerator’s operation. Listen for unusual noises or vibrations and confirm proper drainage into the main system.
Guest Article.
Related Posts


About The Author
A Mum Reviews
This blog is edited by a mid-30s mum with over 15 years of professional childcare experience. Now 10 years into motherhood and enthusiastic about finding great products and helpful solutions for busy families to make life more fun and easier too.