How to Turn a Castile Bar Soap into Liquid Soap
How to Turn a Castile Bar Soap into Liquid Soap
Castile soap is a great multi-purpose product that can be used for many things. I recently swapped shampoo, face wash and body wash for a Dr. Bronners Tea Tree bar soap to create less waste in the bathroom and it works so well on my skin and hair that I wanted to incorporate castile soap in more areas of the home.
One thing I’ve been wanting to make for a long time is my own liquid soap and the easiest and less wasteful way I’ve found to do this is to buy bar soaps and turn them into liquid soap. I looked around online for some recipes and ideas and found a few different brands of castile soap that are more affordable than Dr. Bronners, like Kirk’s Natural Castile Soap that’s available from Amazon.
You can of course take any bar soap and turn it into a liquid soap, but castile soap must be the most multi-purpose and natural one. For this blog post, I used a regular white bar soap and a handmade natural soap made from quality vegetable oils, very similar to traditional castile soap.
Different types of soap will achieve different textures and thicknesses, but you can experiment with this until you reach your desired thickness by adding more water to make it thinner or add more soap to thicken it up.
Here’s how I turned bar soap into liquid soap:
First I chopped up the soaps into small pieces and kept them separate as I was making different kinds.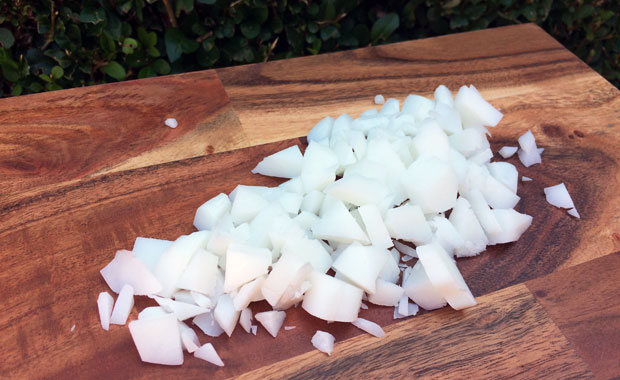
Then I added the pieces to Pyrex jugs and added boiling water. For the creamy bar soap, I used about 700ml but I had to water them down a bit later so I would suggest using 1000ml for one regular bar soap of this type. I used less water for the other soap and still had a runnier consistency so it really varies from soap to soap.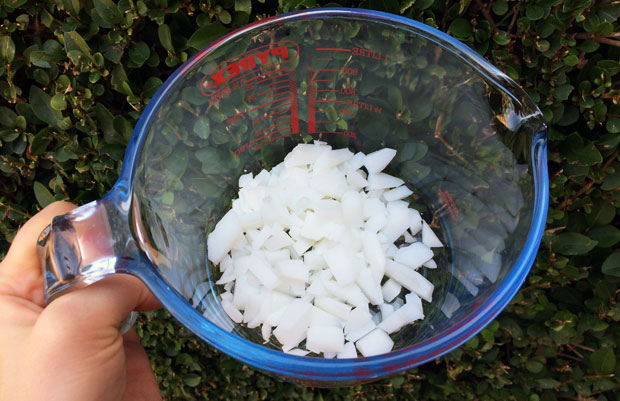
Then the waiting game begins. The hot water will slowly dissolve the soap but it took longer than I expected. Again, I think this varies between different soaps. I stirred occasionally and kept the jugs covered up to keep the heat in and also microwaved them a couple of times for 30 seconds to keep them warm.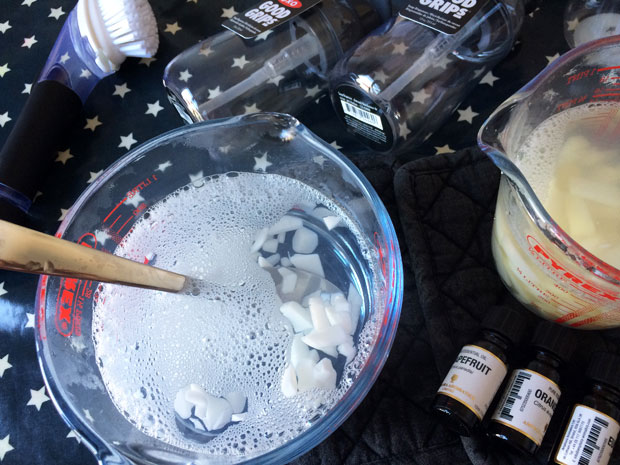
Finally, the bar soaps had dissolved and turned liquid. It probably took an hour or so. Then I whisked the liquid to ensure that there were no bits lurking around.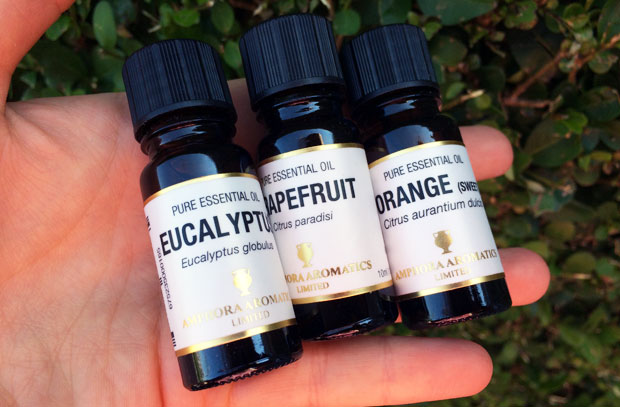
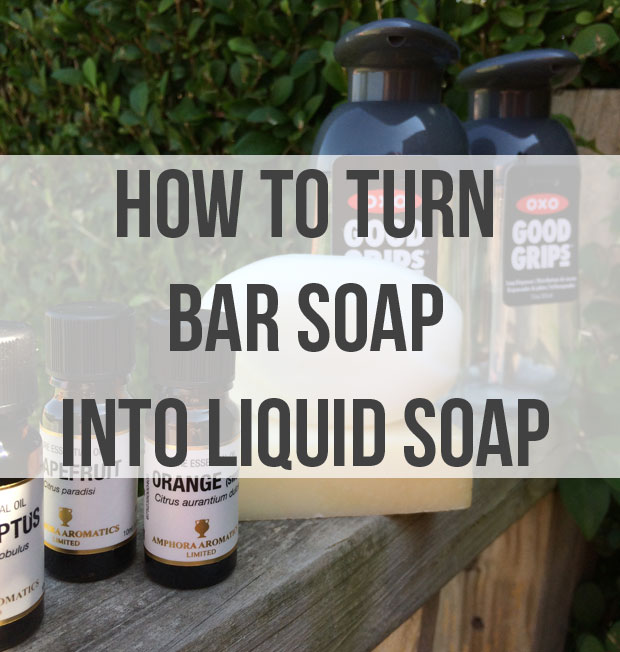
When cool I added scents to the creamy soap by using Amphora Aromatics beautiful pure essential oils. I have the scents Eucalyptus, Grapefruit and Orange. I used the Eucalyptus one for the kitchen soap and the citrus ones for the bathroom one and added between 10 and 20 drops.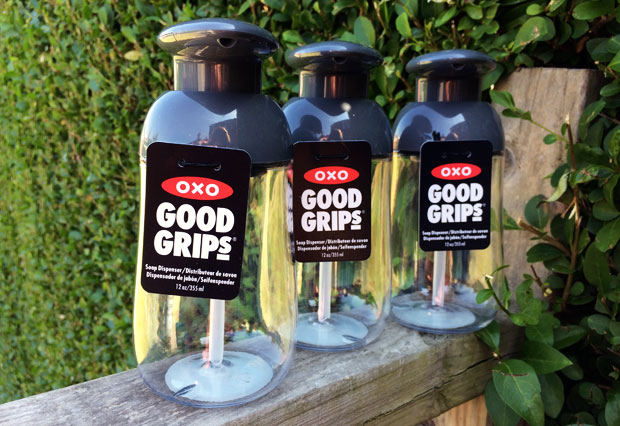
Then you need to transfer your soap into dispensers. I went for these ones from OXO Good Grips as they look great and are easy for the kids to use too. Glass soap dispensers are lovely but not practical when you have little ones and these are very sturdy so I’m sure they’ll last a very long time. I also got a OXO Soap Dispensing Dish Brush to use with the pure vegetable oil soap as this works well for pots and pans too.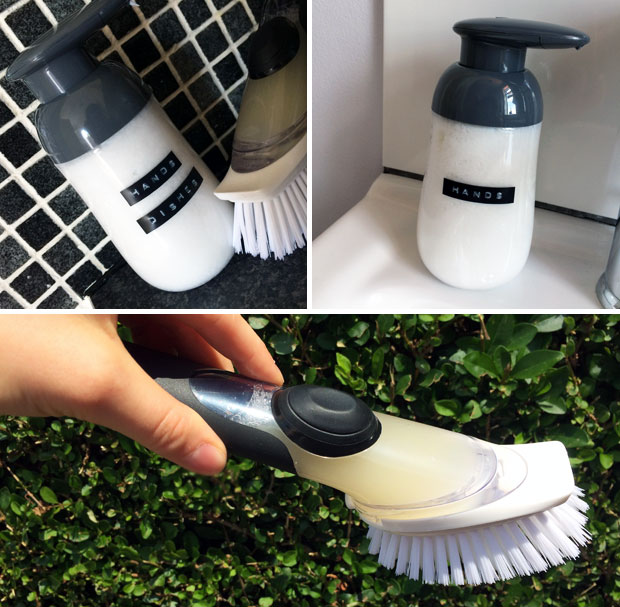
Then your homemade liquid soap is ready to be used! The white soap ended up being really creamy and great for hands and the yellow soap is a much thinner texture but great for the dish brush and in the bath for the kids.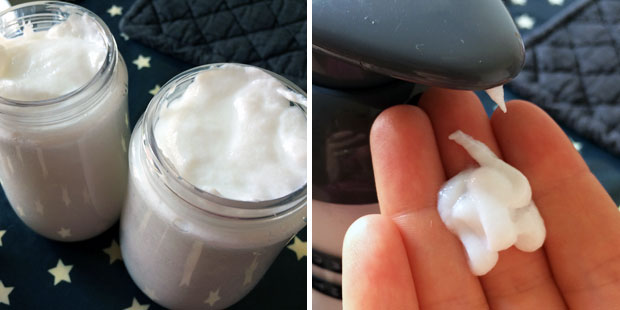
I’m so glad this experiment worked and it was much easier than I ever imagined. My 4-year-old loved taking part in this activity too and loves using the soaps that she helped make.
I’m going to experiment with different types and brands of soaps to see what the outcome is. Next, I’m going to try to turn my trusted Dr. Bronners Tea Tree bar soap into a liquid soap to use in the shower on myself and to clean it too!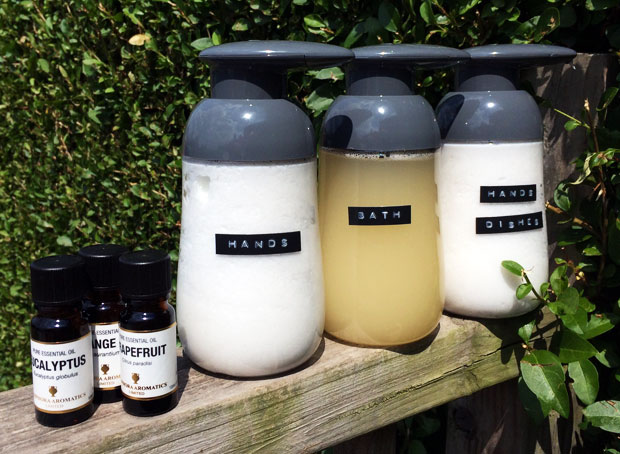
This post includes samples from Amphora Aromatics and OXO Good Grips. Thank you for working with me on this post!


